
Turn a product photo into an ad concept
Use a product photo to write a visual brief, then render it in an image tool. Keep approved claims and check the label against the reference.
By Alan Brown · Works with Claude
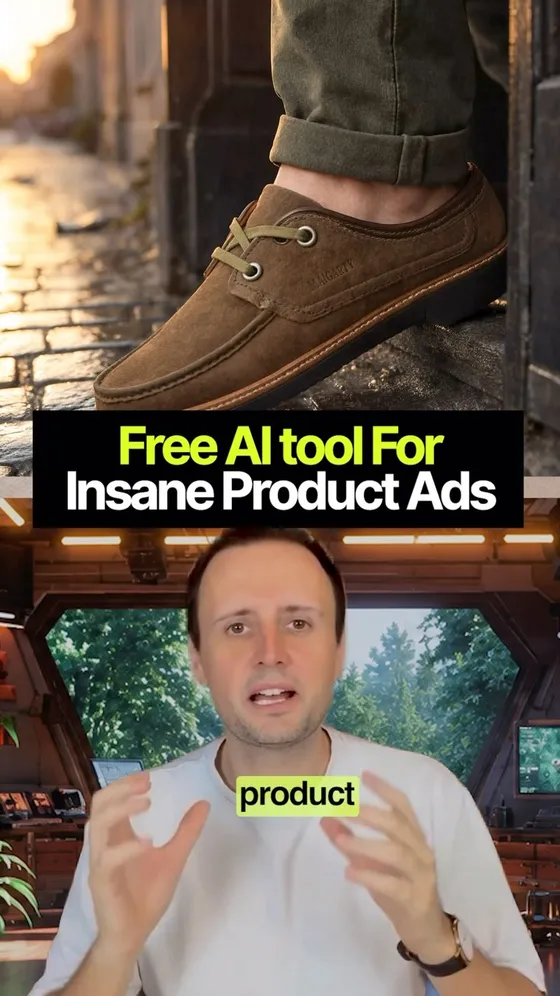
Two tools, about a minute. A plain photo of your product on a clean surface, Claude to art-direct it and write the image prompt, and Reve to render and edit the result. Plain photo → Claude directs → paste into Reve → draw to refine → export 4K.
- 📸 The photo first. Plain background — a white wall, a sheet of paper, a table with nothing on it. Soft even light; a window beats a ceiling light. Product fully in frame, straight on or at a slight angle, label facing the camera and in focus. Shoot at your camera's highest quality setting.
- 💡 Bad lighting is the one thing the AI can't fully undo. Everything else it can.
- 🎬 Then Claude. Attach the photo, paste the prompt below. It studies the product and hands back the concept — scene, palette, light, camera, headline — and the paste-ready image prompt at the bottom. Copy that final block.
- 🖼 Then Reve — app.reve.com. New project from scratch, upload your product photo, paste Claude's prompt, generate. Your product drops into a clean studio scene at 4K.
- ✏️ Draw to edit — the part most people miss. You don't have to re-prompt and pray. Scribble roughly where you want something and describe it: sketch in the corner, say "dried flowers", and it renders lit and in perspective.
- 🧱 Layers — move, resize and reposition elements without regenerating the whole frame.
- 🔒 Image consistency — your product stays stable while you edit around it. Click it, move it, scale it, and it's still your product.
- 🔤 Text — crisp, HD, and spelt right. Zoom in and it holds.
- 🩹 Fix: product looks pasted on → add "product resting on the surface with a contact shadow beneath it".
- 🩹 Fix: lighting looks flat → "single soft key light from camera left, gentle falloff, deep shadow on the right".
- 🩹 Fix: scene is too busy → "minimal set, two props maximum, generous negative space".
- 🩹 Fix: headline lands in the wrong place → "headline in the upper left third, product occupying the lower right".
- 🩹 Fix: colours feel off-brand → name the hex codes or colour names straight from your packaging.
- 🩹 Fix: looks like a render, not a photo → "shot on 85mm, shallow depth of field, subtle film grain".
- 👇 The director prompt is below. The follow-up that gets you three more directions is under "More from these videos" at the bottom of the page.
Context & limitations
The reason this works is the division of labour. Claude can read your photo but can't render one; Reve can render but hasn't studied your packaging. Asking either to do both is where these attempts usually fall apart — you get a beautiful scene with the wrong label, or the right label in a flat scene.
Everything Claude writes describes the photograph AROUND your product. The product itself comes from your image, which is why the plain-background shot matters more than any prompt on this page.
Do this yourself
A photo grounds the visual brief. Check the rendered packaging and headline against the reference; any capable image-reading assistant can write the brief.
Get three more ad directions
Naming the three directions is what stops you getting the same concept relit three times. Send it as a reply in the same chat — it already knows your product.
Want to build this with a teacher?
Pathwise Academy runs small, hands-on AI classes in Singapore for ages 10–17 and adults.