
Pathwise AcademyOnline & In-Person AI ClassesIdea to BuildCreators Club · Ages 10–17Marketing with AI · AdultsCorporate WorkshopsHackathons for SchoolsSingaporeHong Kong
Pathwise AcademyAI classes for kids & adults
Find a class →Log in
← All free guides
School & studyBeginner · about 15 minFree · no signup

Turn textbook material into useful study notes

Turn a readable textbook page into notes, a revision board or a diagram. Check the text against the source before studying from the image.

By Alan Brown · Works with Gemini
Jump to the prompt ↓

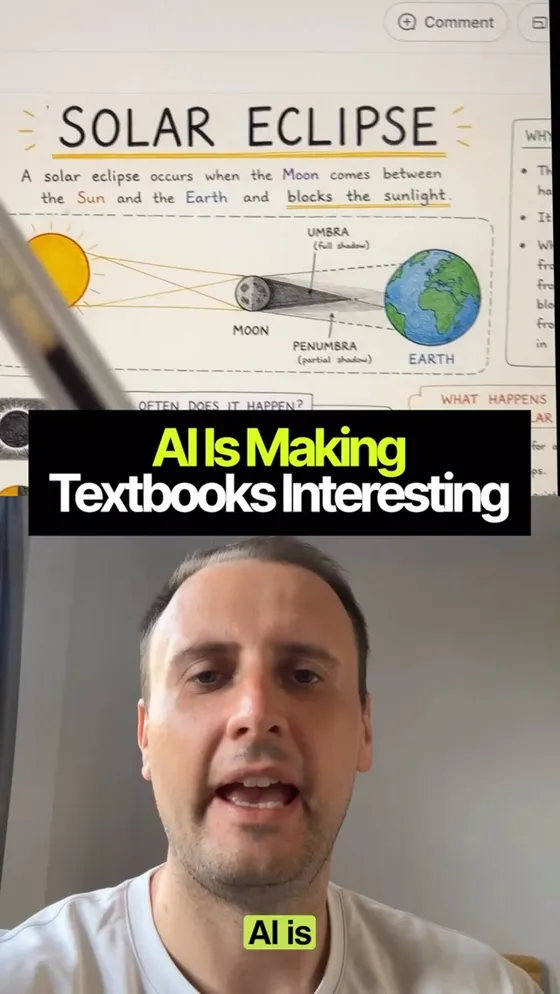
Snap the page — say, photosynthesis. Then type /handwritten before your question and it rewrites the whole thing so simply a kid could follow it.

  • 🗒️ Next, /sticky notes. It breaks the topic into organised layers, so the hard parts stop being hard. Students are prepping for tests in a fraction of the time.
  • 📊 Then /visualise learning — the same topic, turned into clean diagrams and visuals.
  • 📚 Biology. Maths. Chemistry. Even English. Same three prompts, every subject.
  • 👇 /handwritten is below. The other two are under "More from these videos" at the bottom of the page.

Context & limitations

Boring textbooks aren't a study problem. They're a formatting problem. 🧠

Do this yourself

Use an assistant with image input and image generation. Read only the legible content of the attached page; ask about cropped or unclear parts. Preserve the source's facts, equations and qualifications. Provide the exact text separately so I can check it against the page before relying on the image. Explain the material in a friendly, age-appropriate way. Read the attached textbook page. Then create an image of a page of handwritten study notes that teaches the SAME content, rewritten so a 10-year-old could follow it. Rules for the writing: - Plain words. If a technical term is essential, keep it and define it in brackets. - Short lines. No paragraph is longer than two sentences. - Open with a one-line "the whole idea in a sentence" summary at the top. - Use a real-world comparison for the hardest concept on the page. - End with 3 quick-check questions and their answers. Rules for the look: - Neat handwriting on lined or grid paper, slight imperfections, like a real student wrote it. - Blue or black ink for the body, one highlighter colour for key terms only. - Simple arrows, boxes and underlines to show what connects to what. - Small hand-drawn doodles in the margin for the key ideas. - Everything legible. Readability beats decoration. My question about this page: ___

Separate text makes it easier to check image labels and equations against the source. Use an image-capable tool; verify the generated lettering.

Break a topic into a sticky-note board

Jump to the prompt ↓
Use an assistant with image input and image generation. Read only the legible content of the attached page; ask about cropped or unclear parts. Preserve the source's facts, equations and qualifications. Provide the exact text separately so I can check it against the page before relying on the image. Read the attached textbook page and break the topic into layers, then create an image of a sticky-note board that shows those layers. Structure it in 4 colour-coded columns, left to right: 1. YELLOW — The Big Idea (1–2 notes, the concept in one sentence) 2. GREEN — Key Terms (one term per note, definition underneath) 3. BLUE — How It Works (the process, one step per note, numbered in order) 4. PINK — Possible Pitfalls (plausible misunderstandings, clearly labelled as examples unless the source documents them) Rules: - Max 15 words per sticky note. If it doesn't fit, split it into two notes. - Every note must be readable on a phone screen — big, clear handwriting. - Draw arrows between notes that depend on each other. - Order the notes so someone could revise the topic by reading left to right. - Slightly overlapping notes, soft shadows, clean neutral background. My topic focus: ___

Grouping concepts and possible misunderstandings gives the revision board a clear reading order.

Turn the hardest idea on the page into a diagram

Jump to the prompt ↓
Use an assistant with image input and image generation. Read only the legible content of the attached page; ask about cropped or unclear parts. Preserve the source's facts, equations and qualifications. Provide the exact text separately so I can check it against the page before relying on the image. Read the attached textbook page. Identify the single concept that is hardest to understand from text alone, and turn it into a clean educational diagram. Choose the diagram type that actually fits the content: - A cycle for anything that repeats - A flowchart for anything with steps or decisions - A labelled cross-section for anything with parts - A comparison chart for anything with two sides - A timeline for anything that unfolds in order Rules: - Every label uses the correct subject terminology from the page. - Add a one-line caption under each label saying what it does in plain English. - Arrows show direction and are labelled with what is moving or changing. - Flat, modern, textbook-quality style. Generous white space. No clutter. - Limit to 4 colours plus black text, used to group related parts. - Nothing decorative that isn't teaching something. Then, underneath the diagram, list the 3 things this visual is designed to help me remember.

Choosing the diagram from the content keeps the layout in service of the explanation.

Want to build this with a teacher?

Pathwise Academy runs small, hands-on AI classes in Singapore for ages 10–17 and adults.